Create Scored Tutorial Questions

You can transform part or all of a multi-part or multi-mode question into a scored tutorial that guides your students step by step through the solution of a problem. Scored tutorial questions are shown in the assignment itself and count toward the assignment score. In the Assignment Editor, you can set the point value for the entire tutorial or for each question part.  

Note
Important  
  • Do not use the <accordion> and <tutorial> tags in the same question. The one exception to this rule is that in a question that uses the <accordion> tag, you can create a popup tutorial.
  • For scored tutorial questions to work correctly, you must allow question part submission in your assignment.

Your tutorial might be the entire question or only part of the question. You can create more than one tutorial in a single question, and you can mix scored and popup tutorials in the same question.

Skipping and Points

For scored tutorials, the decision about whether to allow students to skip tutorial steps affects not only your students' learning experience, but also the points that they can earn for the tutorial.

By default, your students are allowed to skip tutorial steps, but they cannot go back later to complete the skipped steps. This means that students who skip a step permanently forgo any points they could have earned on the step, but they have an opportunity to earn points on any remaining steps in the tutorial.

If you disallow skipping, your students must either answer each step correctly or use all of their submissions for the step before going on to the next step.

Each method has its merits. Skipping steps gives your students an opportunity to move through the tutorial more quickly if they do not understand a step. Disallowing skipping encourages your students to attempt each step, even if only by guessing.

Tip If you disallow skipping, the number of allowed submissions for the tutorial question is very important. Too many submissions might cause students to give up on a step that they do not understand; too few submissions might not give students enough opportunity to figure out a step for themselves before showing the correct answer.
  1. If needed, open your question in the Question Editor.
    If Do this
    You know the question ID or name
    1. In the search box at the top of the page, select Question.
    2. Type the question name or ID and press Enter.
    You own the question
    1. Click Questions > My Questions.
    2. Click the question name.
    You organize your questions in folders
    1. Click Assignments > Folders and navigate to the folder with the question.
    2. Click the question name.
    You want to use advanced search
    1. Click Questions > Search Questions.
    2. Enter the search criteria you want to use.

      To view only your questions, click me next to Author.

    3. Click Search.
    4. If you own the question, click Edit next to your question.

      If you do not own the question, click View, then click Open in Editor under Previewer Tools.

  2. In Question, add the <tutorial> tag at the beginning of your tutorial.

    You can set several attributes to change the way your tutorial behaves.

    Attribute

    Description

    order="ascending"

    Shows steps in ascending order with the current step at the bottom. (By default, steps are displayed in ascending order with the current step at the top.)

    order="descending"

    Shows steps in descending order with the current step at the top. (By default, steps are displayed in ascending order with the current step at the top.)

    skip="no"

    Requires students to answer each step correctly or use all their submissions before going on to the next step. (By default, students can skip tutorial steps.)

    skip_text="text"

    Renames the Skip button to text (if you allow students to skip tutorial steps.)

    For example:

    <tutorial order="ascending" skip_text="Show the answer (no points 
    earned) and move to the next step">
  3. After the <tutorial> tag, use the <premise> tag to set a title for the tutorial and display the overall problem or concept the tutorial addresses. You must use the closing </premise> tag at the end of the premise. 
    Note
    • You must specify a title attribute for the <premise> tag.
    • Do not include any answer boxes in the premise.
    • The premise is always displayed at the top of the tutorial.
    • The premise is optional, but strongly recommended.

    For example:

    <premise title="Multiplying Fractions">
    When you multiply fractions, you multiply the numerators and you 
    multiply the denominators.<br><br>
    <watex>\[ \frac{3}{4} * \frac{13}{16} = \]</watex>
    </premise>
  4. Enclose each tutorial step with the <step> tag. You must use the closing </step> tag at the end of each step.

    You can set several attributes to change the way each step is displayed. 

    Attribute

    Description

    button="text"

    Requires students to click a button with the specified text in order to see the step. (By default, each step is displayed as soon as the student either correctly answers or skips the previous step.)

    label="text"

    Replaces the default label Step n of m with the specified text.

    title="text"

    Displays the specified text after the step label.

    skip_text="text"

    Renames the Skip button to text (if you allow students to skip tutorial steps.)

    Note The <step> and <SECTION> tags are not interchangeable. You must specify the <SECTION> tag wherever the question mode changes.

    For example:

    <step button="Start" label="Part I" title="Multiply the 
    Numerators">
    3 ยท 13 = <_>
    </step>
  5. Optionally, add tutorial hints in any step with the <hint> tag. You must end each hint with the closing </hint> tag.

    Tutorial hints are shown as a lightbulb icon light bulb icon and display either Hint or a label that you specify with the label attribute. When your student clicks the icon, the contents of the <hint> tag are displayed in place of the label. 

    Note
    • The <hint> tag can be used only in <step>.
    • Each step can contain only one <hint> tag.
    • The <hint> and <HINT> tags are not interchangeable.

    For example:

    <hint label="Show hint">Use the Pythagorean Theorem.</hint>
  6. Optionally, use the <conclusion> tag to display information after your students complete or skip the last step.
    You must end the conclusion with the closing </conclusion> tag.
    Note You must specify a title attribute for the <conclusion> tag.

    For example:

    <conclusion title="Conclusion">You have finished the 
    tutorial.</conclusion>
  7. End the tutorial with the closing </tutorial> tag.
  8. Click Test/Preview to test the appearance and behavior of the question. See Test Questions.
  9. When your question displays and functions correctly, click Save.

    WebAssign assigns it a unique question ID (QID), which is displayed in parentheses after the question name.

    You can use your question in an assignment and see it in your My Questions list only after it is saved.

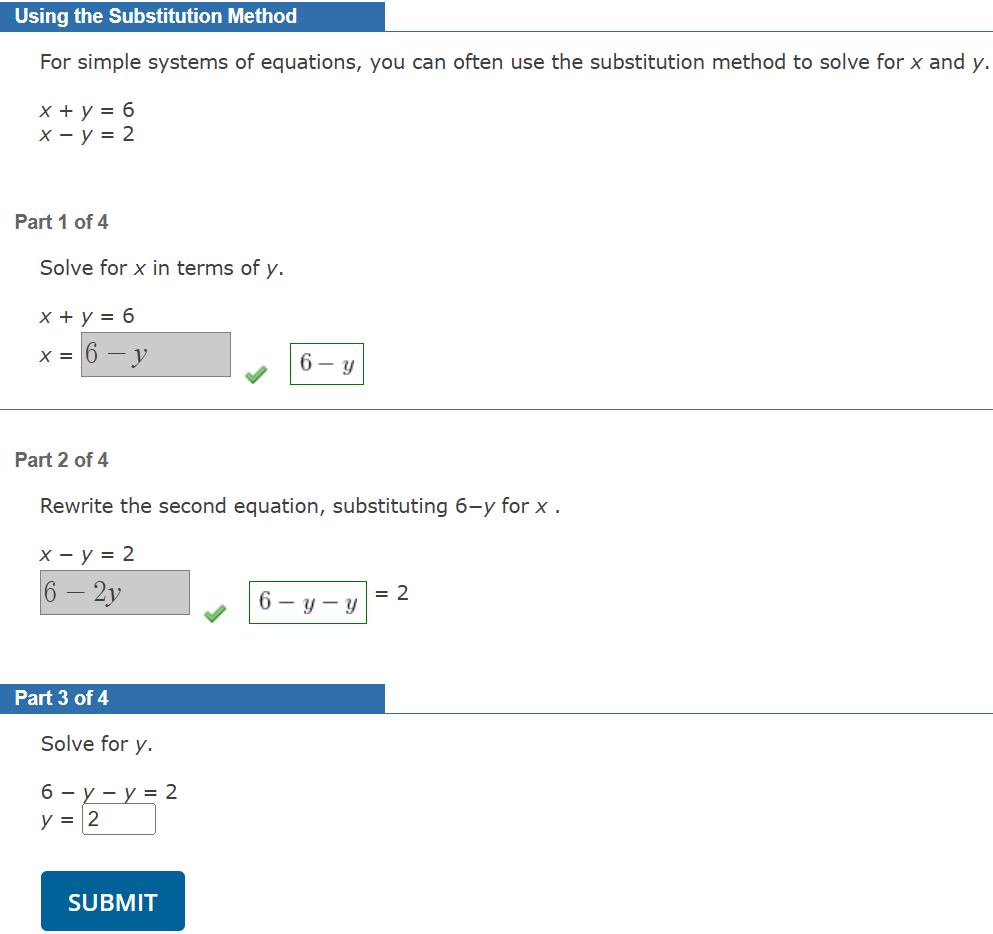
Example Tutorial Question

The following table summarizes an actual question.

QID

1251029

Name

Template2 3.TUT.01.

Mode

Multi-Mode...QN

Question

<tutorial skip="no" order="ascending">
<premise title="Using the Substitution Method">
<watex>For simple systems of equations, you can often use the substitution method to 
solve for \[x\] and \[y\].\vspace{1em}\[ x + y = 6 \\ x - y = 2 
\]</watex></premise>
<step><watex>Solve for \[x\] in terms of \[y\].\vspace{1em}
\[ x + y = 6 \\ x = <_> \]</watex></step>
<step><watex>Rewrite the second equation, substituting \[ 6-y \] for \[ x \]. 
\vspace{1em}\[ x - y = 2 \\ <_> = 2 \]</watex></step>
<SECTION><step><watex>Solve for \[y\].\vspace{1em}\[ 6 - y - y = 2 \\ y  = <_> 
\]</watex></step>
<step><watex>Substitute 2 for \[y\] in either equation and solve for 
\[x\].\vspace{1em}
\[ x + 2 = 6 \\x - 2 = 2 \\ x = <_> \]</watex></step>
</tutorial>

Answer

<EQN $PAD='devmath'; ''>y:6-y
<EQN $PAD='devmath'; ''>y:(6-y)-y
<SECTION><EQN $size=2; ''>2
<EQN $size=2; ''>4

Display to Students

Question as displayed to students