Set Display Text for an Image, Media, or Document File

After you upload a file or image to WebAssign for use in your classes, set the link or alternative text for the file or image.

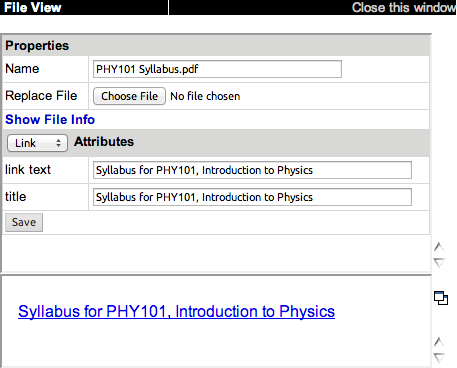
  • Link text is the text shown to your students when you provide a link to the file or image.

    If you omit this, the file name will be used as the link text. You can override the link text any time you insert a link to your file.

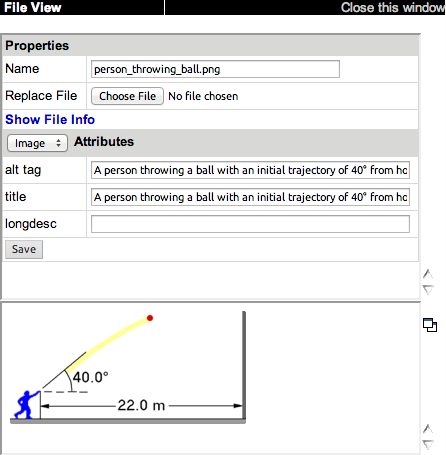
  • Alternative text is spoken by screen readers to help students with visual limitations understand the content of an image.
    Important Always specify meaningful alternative text when you use an image in WebAssign.
Note This text is not used for displaying class resources. See eBooks and Resources.
  1. In the menu bar, click Assignments > Folders.

    Alternatively, open the My Files window when editing an assignment, question, or announcement.

    From this page: Do this:
    Question Editor Click My Files in the Page Tools panel.
    Assignment Editor Click Include File for the Instructions.
    Communication Home Click My Files to the left of your announcement text.
  2. Navigate to the file or image you want to change.
  3. Click the file name.

    The File View window opens.

    File View window
  4. Set the link or alternative text for your file or image.
    For a: Do this:
    File that is not an image
    1. Select Link at the top of the Attributes list.
    2. Optional: Provide information for the title attribute of the link.

      Depending on the browser or screen reader's behavior, this might be displayed as hover text in the browser or read by a screen reader, but it also might not be shown or read to students at all.

    Image file
    1. Select Image at the top of the Attributes list.
    2. Type the alternative text you want to be read by screen readers in both the alt tag and title fields.

      Screen readers might read the contents of the alt or title attributes of an image. To ensure that your content is accessible, provide the same information in both fields.

    3. Optional: Provide a link to a longer description of the content in the longdesc field.
    Note If you want your students to open the image using a link, specify the link attributes as described for non-image files.
  5. Click Save.

Your changes are saved. To see your changes, close and then reopen the File View window.

File View window